
How to Flare
Most breakdancers spend years on flares and never get past one or two. It’s not a talent problem — it’s a training problem. This guide gives you the roadmap: what to build first, when to move on, and why skipping steps always backfires.

Flares are difficult because they demand three things at once: strength, flexibility, and technique. Most people jump straight to technique before their body is ready. The result is frustration, injury, and stalled progress. Follow the order below and you’ll get there.
Near Seattle? I teach flares in person at Coastal Realm Gymnastics in Everett. Most students see a real breakthrough in a single session with the flare machine.
Book a lesson →Prerequisites — Don’t Skip This
Wrist & Forearm Strength
Flares are brutal on wrists. Weak wrists are the most common injury when learning — and not everyone recovers. You need to comfortably support your full bodyweight on one hand before starting.
Why do my wrists hurt? And How To Train Them.Shoulder Strength
Once your wrists are solid, your shoulders are next. You should be proficient in handstands and handstand presses before training flares. If those are unfamiliar, you’re not ready yet.
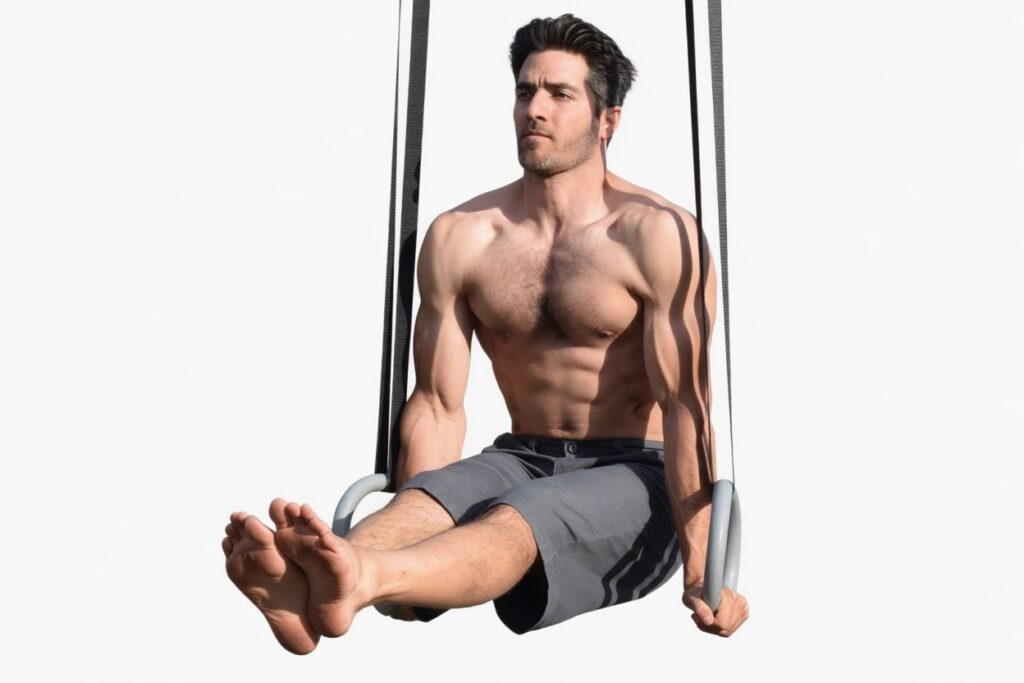
Stay Injury Free! Strengthen Your ShouldersL-Hold
Can be done on the ground, strive to hold your feet above your belly button. Do 10 second holds 3 times a week. This will strengthen your hip flexors so you can raise your legs high in the front position of flare.
Flexibility
Poor flexibility makes the move harder and uglier. You need enough leg flexibility to raise your knee to your face and shoulder — and enough shoulder flexibility to get your hips high in the front.


Shoulder flexibility is the most overlooked part of flares. Skin the cat holds develop the shoulder mobility you need to lift your hips high in the front position.


Technique
The smartest way to learn flare technique is to break it into halves using the bucket drill. Double leg circles cut the complexity in half — your hands and shoulders learn their job without your legs adding chaos.
Once your upper body knows the pattern, work leg timing. The legs kick at different moments through each rotation — this is the hardest part to self-teach. A flare trainer that supports your legs lets you get in many quality reps and actually feel the timing.
The Flare Progress Roadmap
Here’s exactly what to hit at each phase. Work all three pillars in parallel — neglecting any one of them will stall the others.
- False grip hold for 30 seconds, or all weight on one hand
- 10-second handstand hold
- Handstand press
- 60 push-ups
- 5-second tuck planche hold
- 30-second L-hold, feet at or above belly button
- Wrists flat on the ground
- 1 foot away from front & side splits
- 10-second skin the cat hold
- Raise leg above belly button in all directions
- Flare kick drill
- 20 rounds of double leg circles each direction in the bucket
- Multiple handstand presses in a row
- Muscle up on rings
- Inches away from full splits
- Perfect skin the cat stretch
- 40 perfect double leg circles each direction (feet supported)
- Back part of flare from each side
- Half of a front flare
- Multiple flares on the flare machine
- Multiple muscle ups
- 15-second tuck planche hold
- 3-second straddle planche hold (best effort)
- Multiple handstand presses
- 30-second handstand press hold
- Wrists flat
- Full front and side splits
- Perfect skin the cat
- Start flares from a power kick or standing
- Flare–windmill combinations
- Multiple flares in a row
- Self-correct based on feel — know what stopped you
Watch the Full Tutorial
This video covers double leg circles, the flare machine drills, and leg timing — everything from the technique section above in one place.